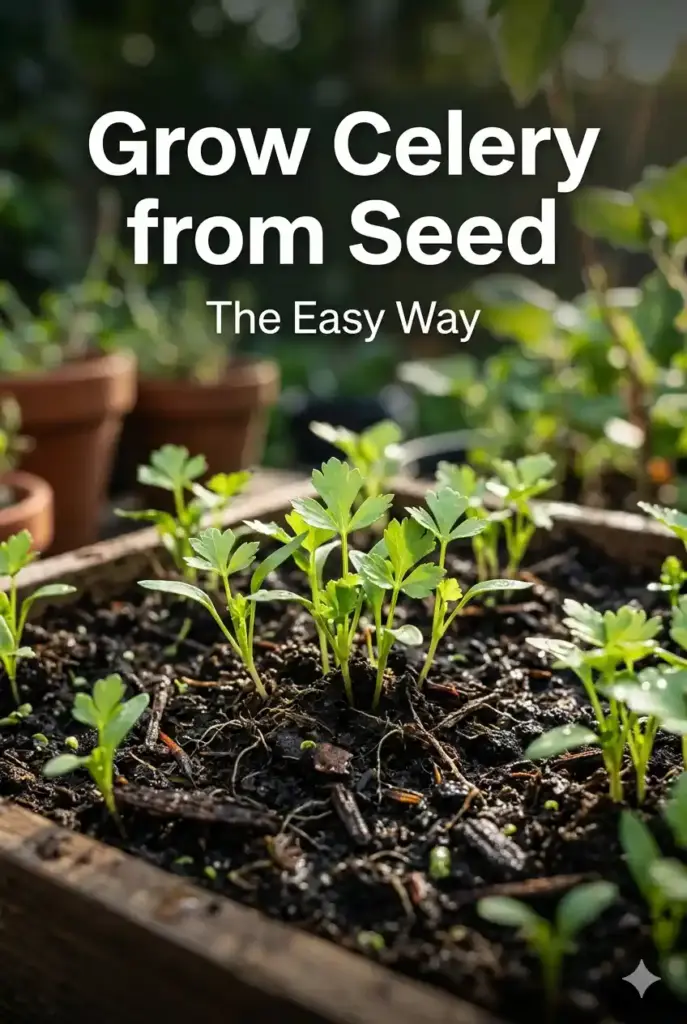
Celery has a reputation for being tricky, but once you understand what it needs, growing it from seed is actually simple. Homegrown celery is crunchier, fresher, and far more flavorful than what you buy at the store. It is also rewarding to know that a small packet of seeds can give you months of fresh stalks for soups, salads, and snacks.
If you have ever wanted to grow your own celery but felt unsure about where to start, this easy step by step guide will walk you through every part of the process.
Why Start Celery from Seed
Celery transplants can be expensive, and the variety selection is often limited. Growing from seed gives you:
- A wider range of varieties, including heirlooms and pink stalked types.
- Much lower cost per plant.
- Healthier, stronger plants when grown with care.
- The satisfaction of growing a crop from scratch.
Celery takes patience, but it is beginner friendly once you understand its slow pace.
Choose a Good Variety
Picking the right variety sets you up for success. A few reliable options include:
- Utah 52-70: The most common variety, with thick, crisp stalks.
- Tall Golden: Self-blanching and mild in flavor.
- Giant Red: Beautiful pink stalks with great flavor.
- Tango: Faster growing and tolerates heat better than most.
If this is your first try, go with Utah or Tango for the easiest results.
When to Start Celery Seeds
Celery takes a long time to grow, usually 110 to 130 days from seed to harvest. Start seeds indoors 10 to 12 weeks before your last frost date. In warm climates, you can also start seeds in late summer for a fall and winter crop.
Prepare for Germination
Celery seeds are tiny and can be slow to sprout. A little prep makes a big difference:
- Soak the seeds in warm water for 24 hours to soften the coating.
- Use a fine seed starting mix, not heavy potting soil.
- Sprinkle seeds on top of the soil and press gently. Do not bury them since they need light.
- Keep the soil consistently moist with a spray bottle.
Germination takes 14 to 21 days. Be patient. Keeping the tray between 65 and 75 degrees Fahrenheit speeds things up.
Care for Seedlings
Once your seedlings sprout, give them plenty of light. A sunny window works, but a grow light is better to prevent leggy growth. Water from the bottom to avoid damping off, a common issue with delicate seedlings. Feed with a diluted liquid fertilizer every 2 weeks once the plants have their first true leaves.
Hardening Off
Before moving your celery outside, harden it off. Set plants outdoors for a few hours each day, gradually increasing the time over 7 to 10 days. This prevents shock when you transplant them into the garden.
Transplanting Celery
Plant your celery outside when nighttime temperatures stay above 50 degrees Fahrenheit. Choose a spot with full sun to partial shade. Celery likes rich, moisture-holding soil with plenty of compost mixed in. Space plants 8 to 10 inches apart in rows about 24 inches apart.
Watering and Feeding
Celery loves water. In fact, more celery crops fail from drought than anything else. Keep the soil consistently moist but not waterlogged. A thick layer of mulch helps retain moisture and keeps the soil cool.
Feed your plants every 2 to 3 weeks with a nitrogen rich fertilizer. Celery is a heavy feeder and benefits from steady nutrition throughout the growing season.
Blanching for Sweeter Stalks
If you want classic pale green, mild celery, blanch the stalks by covering them from sunlight. Wrap the base of each plant with cardboard or fabric about 2 weeks before harvest. This softens the flavor and reduces bitterness. Self-blanching varieties skip this step and give pale stalks naturally.
Common Problems
- Stringy stalks: Usually from too little water or hot weather.
- Bitter flavor: Can be caused by heat or inconsistent watering.
- Slow growth: Often a sign of nutrient deficiency.
- Bolting: Plants go to seed in very hot weather. Choose heat tolerant varieties.
Harvesting Celery
Celery is ready to harvest when stalks are at least 8 inches tall. You have two options:
- Pick outer stalks as needed. The plant keeps producing more from the center.
- Cut the entire head at the base for a full harvest.
Homegrown celery is often slimmer and more flavorful than store bought. Store unwashed in the fridge in a damp towel or freeze it for soups.
Growing Celery in Containers
Celery grows well in pots at least 12 inches deep. Use a rich potting mix and keep the soil moist. A single pot can hold 2 to 3 plants. This is a great option for balcony gardeners or anyone without a backyard.
Final Thoughts
Growing celery from seed may take patience, but it is easier than most gardeners think. With good light, steady water, and rich soil, you will be harvesting tender homegrown celery before you know it.
Start your seeds early, keep them moist, and give the plants the long season they need. The reward is fresh, crisp celery far superior to anything you can buy at the store.