Red peppers are one of the most rewarding vegetables you can grow at home. They are sweet, colorful, and packed with vitamins, and homegrown peppers taste far better than anything from the store. While they take some patience to mature, the process of starting them from seed is simple once you know the basics. With the right care, even a beginner can grow tall, healthy plants loaded with bright red fruit.
This guide walks you through everything you need to know to plant red pepper seeds successfully and grow a productive crop.
Choose the Right Variety
Not all red peppers are the same. Some are mild and sweet, while others are spicy. For sweet red peppers, look for varieties that ripen from green to deep red.
- California Wonder: Classic large, sweet bell pepper.
- Red Beauty: Reliable, early ripening, and very productive.
- Carmen: Long Italian style pepper with rich, sweet flavor.
- Marconi: Heirloom variety with thin walls and great taste.
For beginners, California Wonder or Red Beauty are easy and dependable choices.
When to Start Pepper Seeds
Red peppers need a long growing season, so starting seeds indoors is essential in most climates. Begin 8 to 10 weeks before your last frost date. Pepper seeds germinate slowly, especially in cool conditions, so warmth and patience are key.
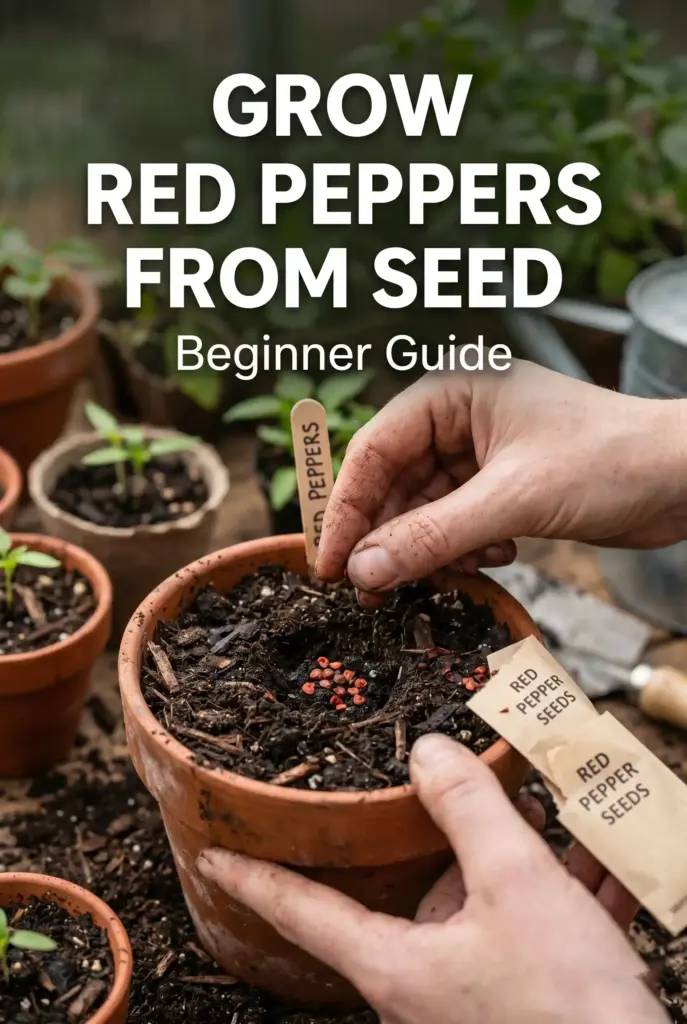
Prepare for Seed Starting
Get the right setup to give your seeds a strong start:
- Use small seed trays or cell packs with drainage holes.
- Fill with a fine seed starting mix, not regular potting soil.
- Plant seeds about a quarter inch deep.
- Mist gently to settle the soil without disturbing the seeds.
Pepper seeds love warmth. Keep the soil temperature between 75 and 85 degrees Fahrenheit for the fastest germination.
Provide Enough Light
Once seeds sprout, they need bright light right away to avoid leggy growth. A sunny windowsill works, but a grow light gives the best results. Keep the light close to the seedlings, about 2 to 3 inches above, and provide 14 to 16 hours of light per day.
Caring for Pepper Seedlings
Healthy seedlings grow into productive plants. Take care of these basics:
- Water gently when the top of the soil feels dry.
- Avoid letting trays sit in standing water.
- Begin feeding with a diluted liquid fertilizer at 2 weeks.
- Keep nighttime temperatures above 60 degrees Fahrenheit.
If seedlings stretch toward the light, lower the lamp closer to the plants.
Hardening Off Your Plants
Before moving peppers outdoors, harden them off over 7 to 10 days. Set the seedlings outside for a few hours each day, slowly increasing the time. This step prevents shock when the plants face direct sunlight, wind, and cooler nights.
Transplanting to the Garden
Transplant peppers outside only after all danger of frost has passed and nighttime temperatures stay above 55 degrees Fahrenheit. Choose a sunny location with at least 6 to 8 hours of direct sun each day.
- Space plants 18 to 24 inches apart.
- Mix compost into the planting hole.
- Plant at the same depth as in their pot.
- Water deeply right after planting.
If your nights are still cool, use row covers to protect young plants.
Soil and Watering
Peppers prefer rich, well-drained soil with a pH between 6.0 and 6.8. They need about 1 to 2 inches of water per week. Inconsistent watering leads to blossom end rot, where the bottom of the fruit turns black. Mulch helps keep moisture levels steady and prevents weeds.
Feeding for Strong Growth
Red peppers are heavy feeders. Use a balanced fertilizer at planting and switch to a phosphorus rich blend once flowers appear. Feed every 3 to 4 weeks. Avoid too much nitrogen, which makes the plant grow lots of leaves but few peppers.
Support Your Plants
Red peppers can grow tall and get heavy with fruit. Stake or cage your plants early to prevent breakage. Tie the stems loosely to the support as the plant grows.
Common Pepper Problems
- Yellow leaves: Often nutrient deficiency or too much water.
- Blossom end rot: Caused by uneven watering or low calcium.
- Sunscald: White patches on fruit. Provide some leaf cover.
- Aphids and pests: Spray with soapy water or use neem oil.
Letting Peppers Ripen Red
All peppers start green and slowly turn red as they ripen. Patience pays off, since red peppers are sweeter and more nutritious. Letting them ripen on the plant takes a few extra weeks, but the difference in flavor is huge.
Harvesting Red Peppers
Pick peppers when they are firm, glossy, and fully red. Use scissors or pruners to cut the stem rather than pulling, which can damage the plant. Regular picking encourages the plant to keep producing more fruit.
Storing Fresh Peppers
Fresh red peppers stay crisp for about a week in the fridge. For longer storage, slice and freeze them, dry them in a dehydrator, or roast and preserve them in jars. Homegrown red peppers freeze beautifully and add flavor to soups, stews, and sauces all year.
Final Thoughts
Growing red peppers from seed takes patience, but it is one of the most rewarding garden projects you can try. With warmth, sunshine, steady water, and good soil, your plants will reward you with sweet, juicy red peppers full of flavor.
Start your seeds early, follow these tips, and enjoy the satisfaction of harvesting bright red peppers straight from your own garden.