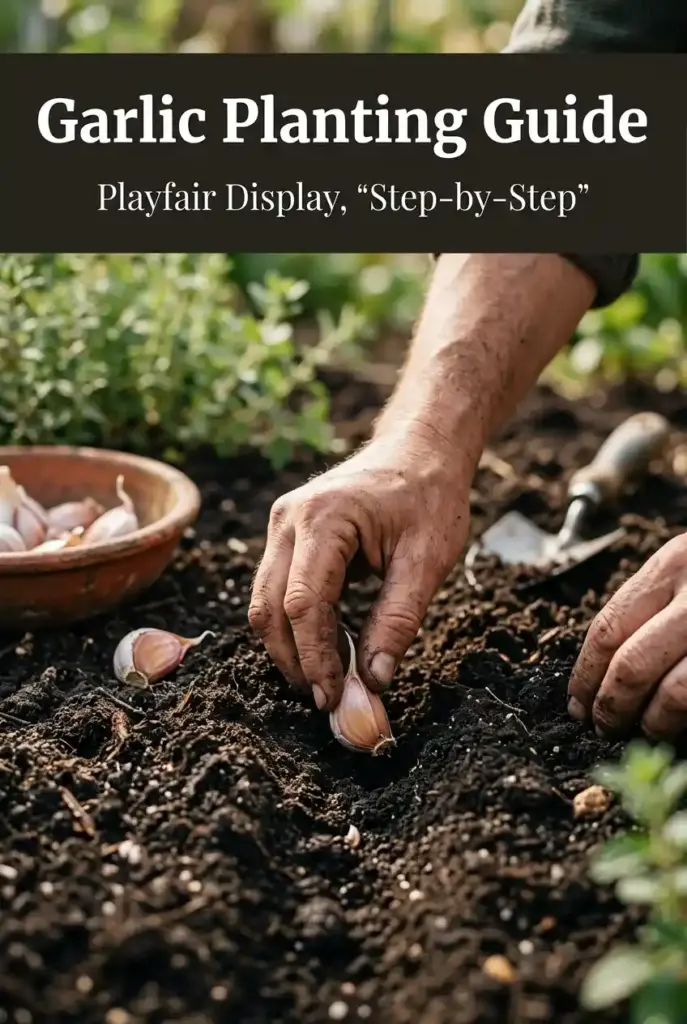
Garlic is one of the easiest and most rewarding crops a beginner can grow. You plant a single clove, forget about it for most of the year, and then pull up a full head of fresh, flavorful garlic. It takes very little effort once it is in the ground, and the taste of homegrown garlic is far stronger and more aromatic than anything at the supermarket.
Here is your complete step-by-step guide to planting garlic and growing big, healthy bulbs at home.
Choose the Right Type of Garlic
There are two main types of garlic, and choosing the right one depends on your climate.
- Hardneck garlic: Grows best in cold regions. Produces fewer but larger cloves and sends up edible flower stalks called scapes.
- Softneck garlic: Better in warmer climates. Produces more cloves per bulb and stores longer.
If you live where winters are cold, go with a hardneck variety like German Extra Hardy or Music. For milder winters, choose a softneck like California Early or Inchelium Red.
Important: Do not plant grocery store garlic. It is often treated to prevent sprouting and may carry diseases. Buy seed garlic from a trusted nursery or online seed company.
When to Plant Garlic
Timing is everything with garlic. The best time to plant is in the fall, about four to six weeks before the ground freezes. This gives the cloves time to grow strong roots before winter without producing top growth.
In most regions, this means planting in October or November. In warmer zones, you can plant as late as December. If you miss fall planting, spring planting is possible but usually produces smaller bulbs.
Prepare the Soil
Garlic grows best in loose, fertile, well-drained soil with a pH between 6.0 and 7.0. Before planting:
- Choose a sunny spot with at least 6 hours of direct sun.
- Work 2 to 3 inches of compost into the top 8 inches of soil.
- Loosen the soil deeply so roots can grow down easily.
- Avoid planting in heavy clay that holds water, which causes rot.
If your soil is poor, garlic will still grow, but the bulbs will be small. A little preparation pays off big at harvest time.
Break the Bulbs into Cloves
Just before planting, separate the bulb into individual cloves. Do this gently so the papery skin stays on each clove. Plant only the largest cloves, since they produce the biggest bulbs. Save the smallest ones for cooking.
Do not separate the cloves more than a day or two before planting, or they may dry out.
How to Plant Garlic Cloves
Planting garlic is simple, but direction matters.
- Plant each clove 2 inches deep, with the pointed end up.
- Space cloves 6 inches apart in rows 12 inches apart.
- Cover with soil and press gently to remove air pockets.
- Water lightly if the soil is dry.
Then mulch the bed with 4 to 6 inches of straw, leaves, or grass clippings. This protects the cloves through winter and helps suppress weeds.
Caring for Garlic Through the Seasons
Garlic is a long game. It sits quietly through winter and wakes up in spring. Once green shoots appear:
- Remove mulch gradually as temperatures warm.
- Water about one inch per week during active growth.
- Feed with a nitrogen rich fertilizer or compost tea in early spring.
- Stop feeding by late spring so the plant focuses on bulb formation.
Keep the bed weed free, because garlic does not compete well with weeds.
Snap Off the Scapes
If you planted hardneck garlic, you will see a curly green stalk shoot up in late spring. This is the scape, the flower stalk of the plant. Snap or cut it off when it makes its first full curl. This sends more energy into the bulb and gives you a delicious bonus crop to use in stir fries, pestos, or salads.
Watering and Mulching
Garlic needs steady moisture from spring until about two weeks before harvest. Water deeply rather than frequently. Mulch helps keep the soil cool and moist, which garlic loves. Stop watering a couple of weeks before harvest to let the bulbs cure properly in the ground.
Harvesting Garlic
Garlic is ready to harvest in early to mid summer, usually 8 to 9 months after planting. The signs are easy to spot:
- The bottom one third of leaves has turned brown.
- The top leaves are still green.
- The plant looks tired and slightly flopping.
Use a garden fork to gently lift the bulbs. Do not pull by the stem or you may break the plant. Brush off loose soil, but do not wash the bulbs.
Curing and Storing
After harvest, cure the bulbs by hanging or laying them in a dry, shady, well-ventilated place for two to three weeks. Once the outer skins are dry and papery, trim the roots and stalks. Store in a cool, dry, dark spot. Properly cured softneck garlic can last up to 9 months.
Final Thoughts
Planting garlic is one of the simplest and most satisfying gardening projects you can try. You plant it once, wait patiently, and then pull up a full harvest of bold, flavorful bulbs that will last for months.
Start this fall with a few cloves of seed garlic, follow these steps, and by next summer you will be enjoying the kind of rich, aromatic garlic that only homegrown can offer.